1. Thermal Imaging
  2. Applications
  3. Infrared cameras for use in metal industry

Ther­mo­graphy in the Metal­l Industry

In the metal industry, the continuous improvement of process reliability and productivity has the highest priority. Above all, metal products should be of high quality and durable as well as cost-efficient and resource-efficient to produce.

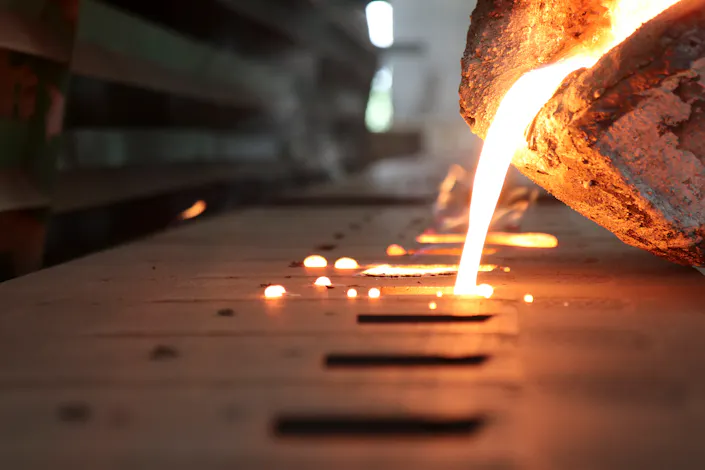
InfraTec | Thermography in Casting, molten metal - Picture credits: @ iStock / Warut1
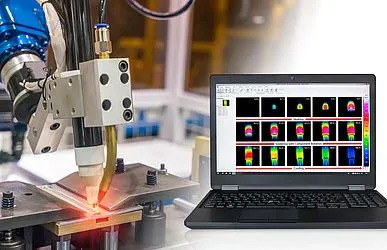
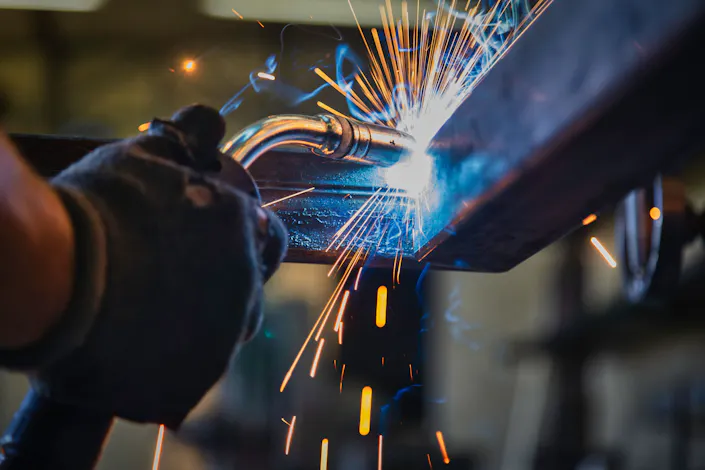
InfraTec | Thermography in welding and soldering - Picture credits: @ iStock / nimis69
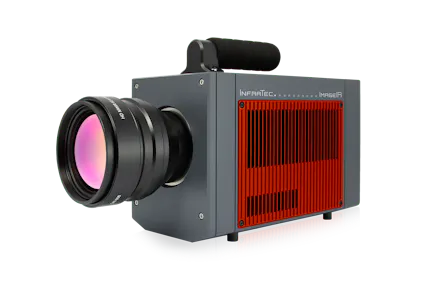
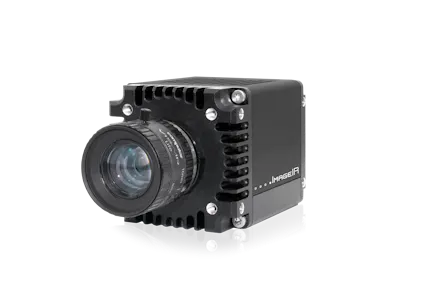
application of Infrared camera ImageIR® 8100/9100 Series from InfraTec picture credit:© sved oliver/stock.adobe.com
0 | 3

Thermography can support the achievement of these goals. In this context, thermographic systems take on different tasks at different points in the complex processes of metal processing:   

  • Monitoring of temperatures, for example during casting, melting, forming

  • Analysis of material properties in stress tests, as part of quality assurance

  • Detection of weak points or processing defects, for example on weld seams

  • Safety-relevant monitoring, for example of melting furnaces and casting ladles

Case Studies on Thermography in the Metal Industry

InfraTec - Process Monitoring During Open‐die Forging

Process Monit­oring During Open‐die Forging

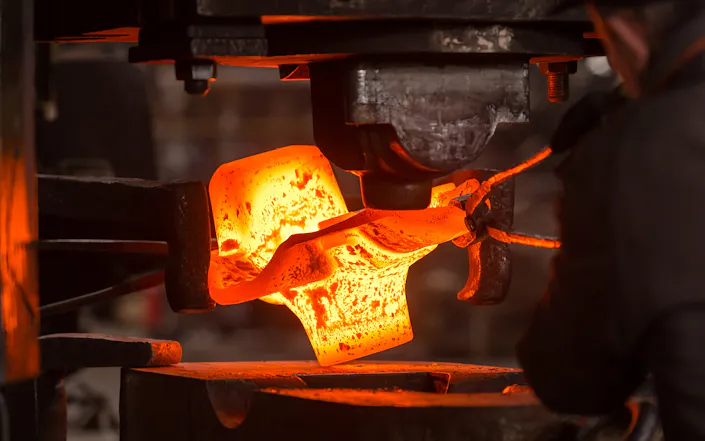
Anyone who wants to produce curved or twisted steel and aluminium components, can rely on bending forging nowadays. Components with complex geometries can now be manufactured by means of this incremental forging variant.

Inline Process Control for Quality Assurance of Weld Seams - TU Ilmenau

Inline Process Control for Quality Assur­ance of Weld Seams

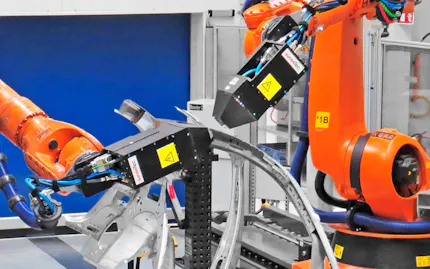
As part of the 3dStahl collaborative project, a 6-axis robot, equipped with a welding machine, was attached upside down to a wall-to-wall wire rope hoist kinematics system in order to automate joining processes involving small quantities or even individual parts such as large-scale objects (lock gates, bridges).

InfraTec thermography reference - Thermal Ceramics - Picture credits: © iStock.com / JazzIRT

Ther­mo­graphy for Insu­la­tion Checks

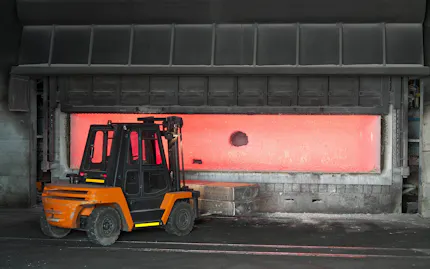
All kind of hot industrial processes need to be contained well to allow the process itself to go on and at the same time to protect neighbouring installations and employees working there. Thermography helps to detect weak points and provides first indications for necessary repairs.

Areas of Application for Thermography in the Metal Industry

Products made of metal materials are needed for numerous applications in the manufacturing industry, including the automotive industry, machine and plant construction and the transport sector. The requirements in the various areas of the metalworking industry are very different. 

In most metal processing methods, the temperature and its distribution play a decisive role. Even minimal deviations from the target temperature can, for example, negatively influence the predefined strength properties of the product. This, in turn, leads to high reject rates and costs. Infrared camera-supported process monitoring makes this scenario avoidable. Thermographic systems operating in the short-wave infrared range (SWIR) are particularly suitable for non-contact temperature measurement on metallic surfaces.

For the detection of slag formation during tapping and the monitoring of ladles and furnaces, however, infrared cameras that measure in the long-wave infrared range are often an advantage.

Casting - Quality Assurance During Production

A central and decisive factor in the entire casting process is the temperature, which determines the properties and thus the quality of the end product. This already begins with maintaining the material-specific melting temperature to achieve the optimum consistency of the molten metal. In addition to the melt treatment, the temperature also influences the solidification of the melt and the resulting microstructure, which in turn determines the hardness and strength of the finished casting.

Benefits of Thermography for Casting
  • Monitoring mould and melting temperature

  • Optimising energy input

  • Ensuring quality of the casting (strength, stability, no cavities)

  • Ensuring safety for people and the environment

By determining the temperature once, by means of a contact measurement before the start of the casting process, process control is possible on the basis of existing experience regarding cooling behaviour. However, this reaches its limits when casting speed and/or duration are subject to stronger fluctuations. To ensure that the required minimum temperature of the molten metal is maintained up to the end of the process in these cases as well, non-contact temperature measurement by means of thermography is a reliable method. In addition, an optimisation of the energy input can be achieved by reducing the temperature reserve that has to be maintained.

Ladle Hot Spot Detection by InfraTec - Picture Credits: © iStock.com / kot63

A challenge in terms of measurement technology is the influence of the emissivity in molten metals. Their surfaces are highly reflective in the medium and long-wave spectral range and the emissivity has an even lower value than in the solidified state. Any deviation in the surface condition can affect the temperature reading.

By using thermographic systems that measure in SWIR spectral range, such interference effects can be suppressed. Infrared cameras make a significant contribution in this respect, as they can measure melting temperatures without contact. Even the smallest temperature deviations, which would have a considerable impact on the flowability and quality of the melt, can be directly detected and quickly corrected.

The temperature of the moulds is just as decisive. In order to avoid the formation of blowholes due to gas in the casting, the mould temperature can be permanently tested with the help of thermographic systems and readjusted if necessary.

Finally, non-contact temperature measurement also plays a significant role in the heat treatment of metal workpieces. With this method, the mechanical properties of the corresponding metal products are to be improved. This requires controlled heating and cooling for the targeted modification of material properties, which can be elegantly monitored with thermographic systems.

More Safety in the Foundry Industry

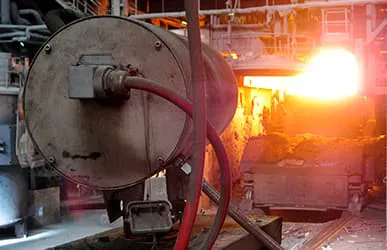
Casting moulds (especially permanent moulds) as well as melting furnaces and casting ladles are subject to technologically induced wear during their use. To ensure that the safety of people and the environment can be always guaranteed, thermographic monitoring is also useful here. Infrared cameras in the long-wave infrared range (LWIR) can be used, for example, to reliably identify leaks and cracks in moulds and furnaces or scouring on refractory linings and to derive safety measures from them. The targeted repair of the defects reduces the energy required in the process and avoids high costs that would be associated with a production stoppage. At the same time, serious accidents such as the leakage of melt from broken ladles can be prevented.
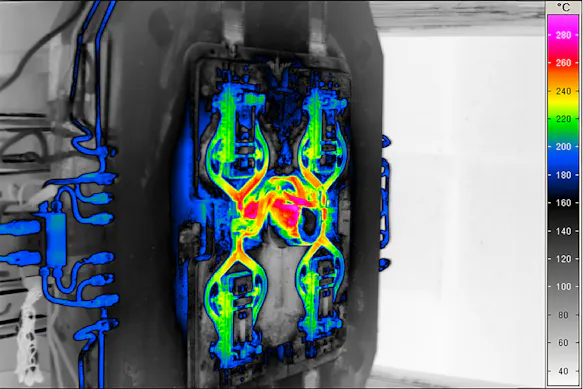
InfraTec | Heated die casting mould
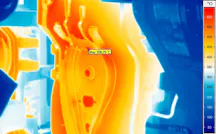
Heated die casting mould

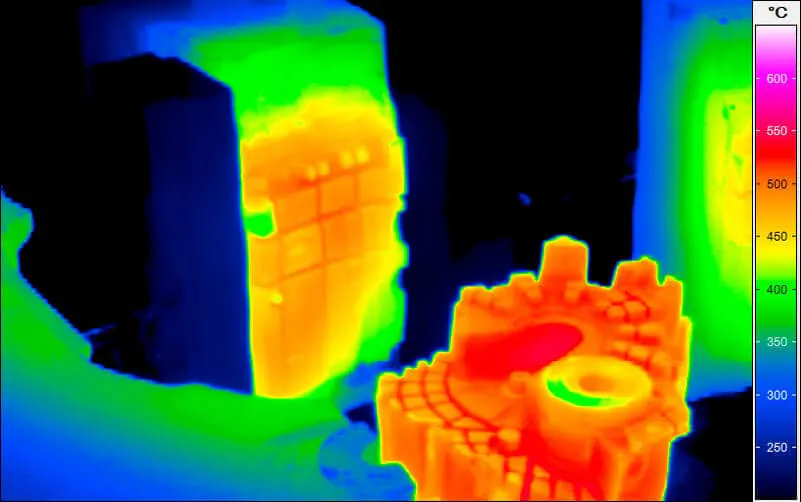
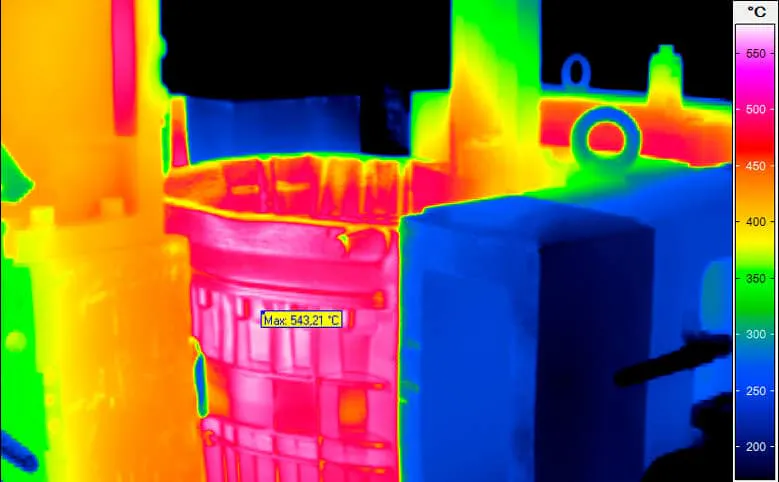
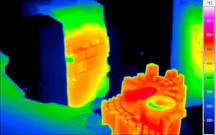
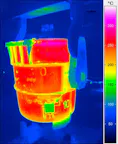
Thermal Images from Casting Processes

Control of a die-casting
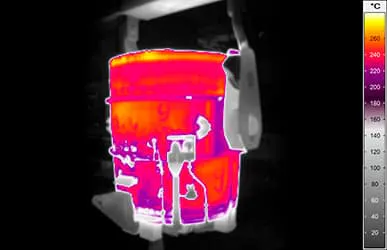
Thermal imaging of a ladle
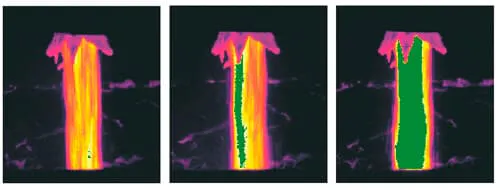
Slag detection with thermal imaging
Open mould with workpiece
Mould with workpiece

Ther­mo­graphic Automation Solutions for Casting

Automation InfraTec INDU-SCAN - In-process industrial temperature measurement
Indus­trial Auto­ma­tion

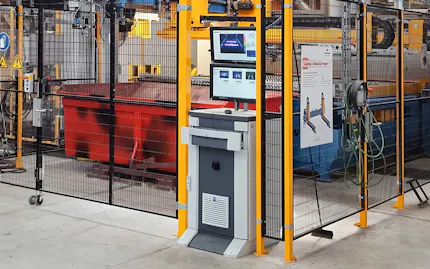
Process Control – INDU-SCAN

Contactless measurement of temperature distributions and profiles with industrial thermographic cameras permits efficient monitoring and control of temperature-dependent processes and procedures within a system-integrated quality assurance programme in industry.

Automatic slag detection in steelmaking with thermal imaging SLAG-DETECT
Steel Produc­tion

Slag Detection – SLAG-DETECT

Take advantage of thermography for quality assurance and increase the process yield in the steel production in BOF and EAF processes.

Ladle hot spot detection with thermal imaging LHSD
Steel Produc­tion

Torpedo Car Monitoring and Ladle Hotspot Detection

Use automatic thermography to inspect the outer shell of ladles, torpedo cars and converters to prevent idle time and accidents.

InfraTec Crane Rope Monitoring - ©iStock-PG-1973
Steel Produc­tion

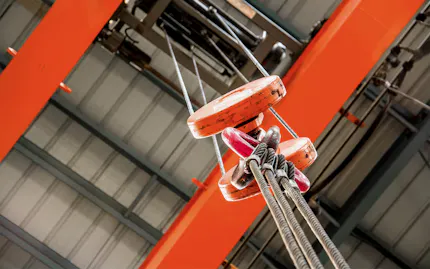
Crane Rope Monitoring in Steelworks

The completely automatic 24/7 monitoring with infrared cameras enables you to detect weak points on crane ropes in real time.

Thermography in Hot Forming

Hot forming is a process of great importance for many industries such as vehicle manufacturing and the construction industry as well as their suppliers, as the parts produced in this way are very light and yet extremely stable. To ensure consistently high manufacturing quality in this process, all production steps are subject to strict quality monitoring.

All hot forming processes are performed above the recrystallisation temperature of a metal. This allows high degrees of forming with low forming forces at the same time.

Benefits of Thermography for Hot Forming Processes
  • Ensuring the quality in all production steps

  • Monitoring temperatures and detecting deviations quickly

  • Optimising energy input

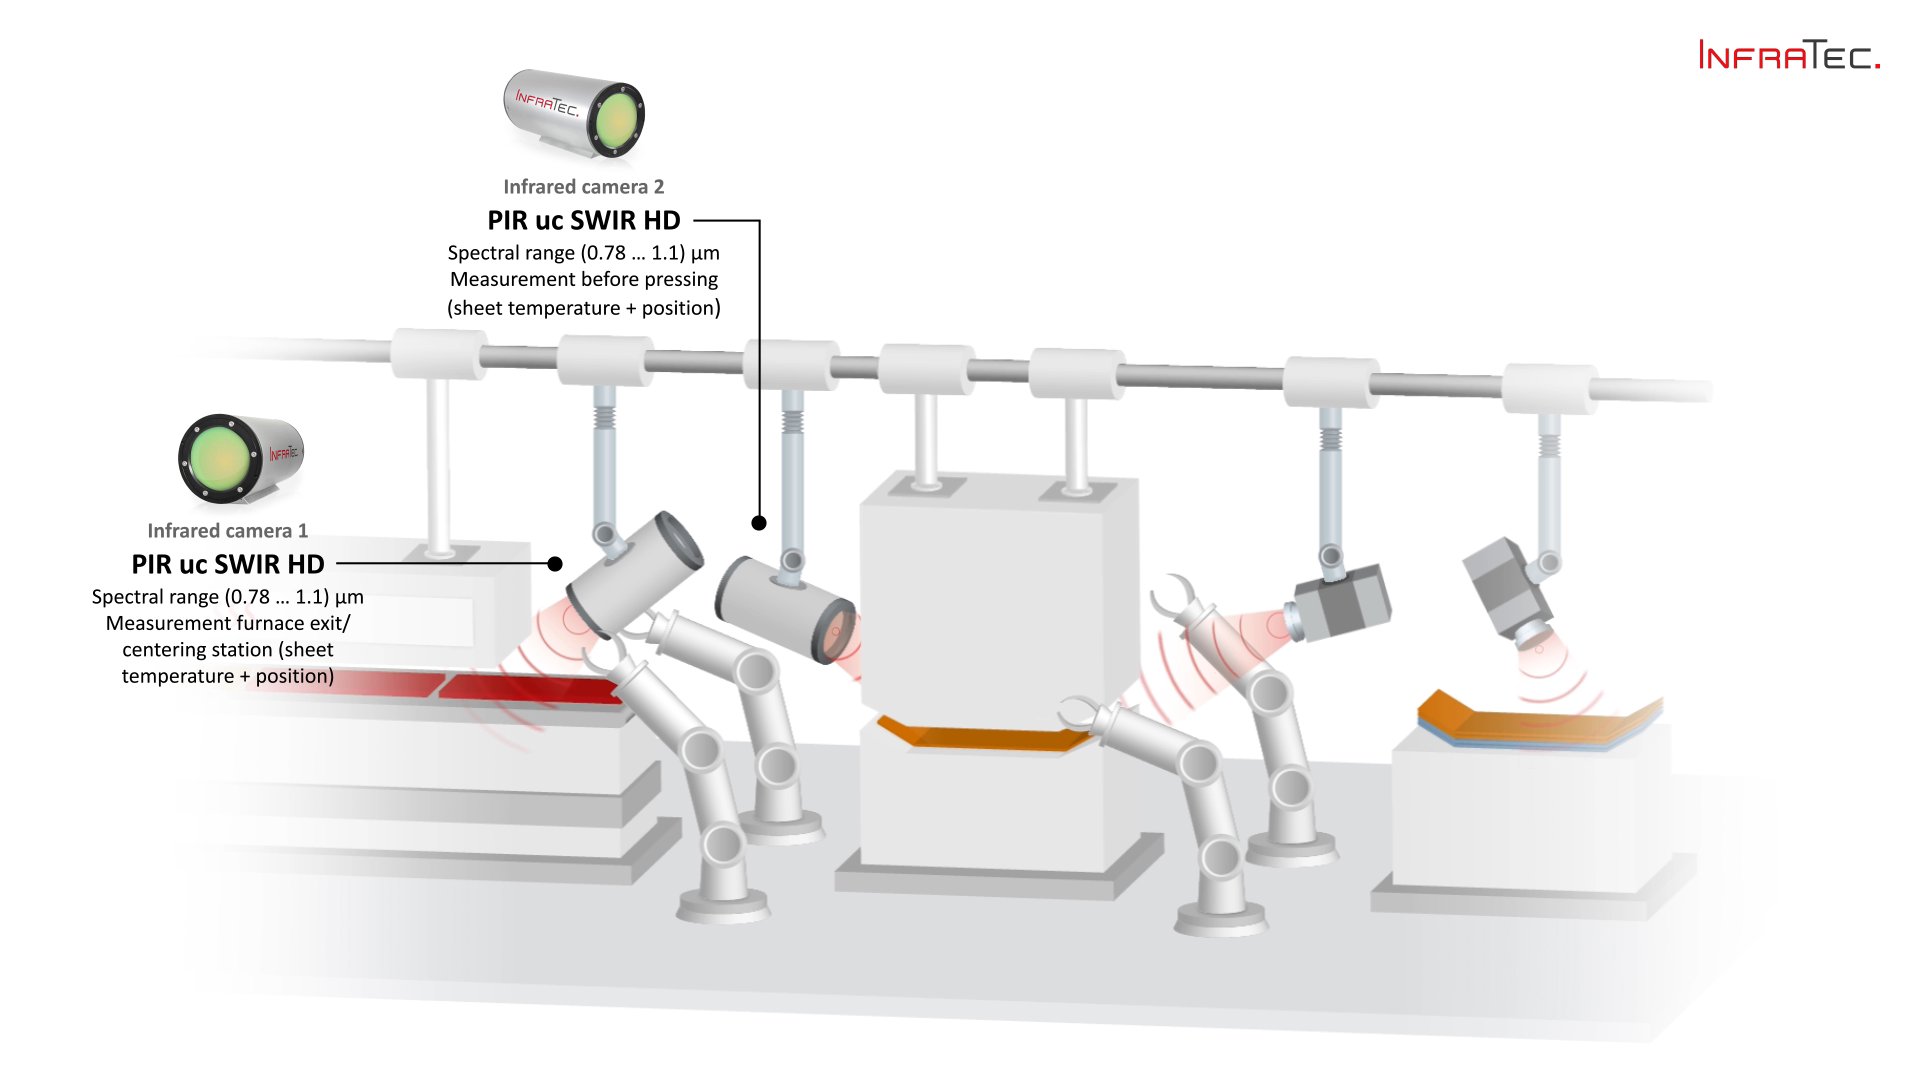
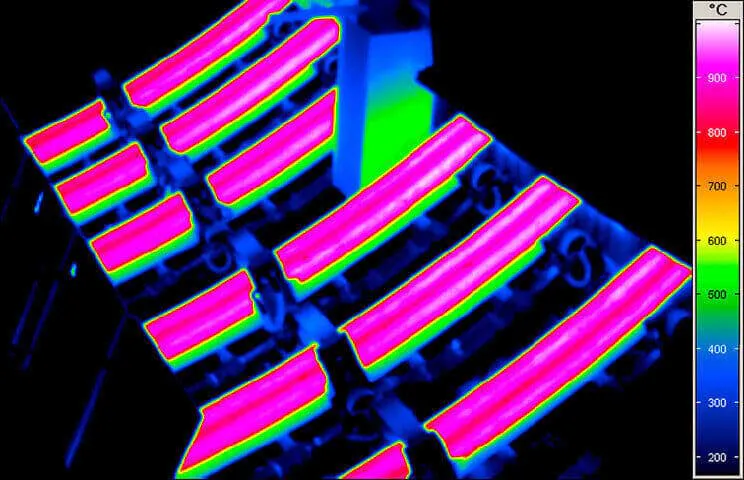
The most modern process variants of press hardening also work with controllable tool cooling, through which different cooling rates and thus different degrees of hardness can be achieved within one and the same workpiece. Continuous thermographic monitoring allows both control of the process conditions during each individual pressing process and early detection of incipient systematic deviations.

application of Infrared camera ImageIR® 8100/9100 Series from InfraTec picture credit:© sved oliver/stock.adobe.com

Ther­mo­graphy in Use in Press Hardening

To make the heating processes as efficient as possible and to save energy, thermographic systems detect without contact when the optimum forming temperature of the workpiece has been reached. Both the homogeneity of the temperature distribution and compliance with the target temperature are measured. With a view to energy efficiency, this means that only the energy is introduced, which is necessary for the forming process.

Tip!

Even if the starting material for this process is precisely specified in terms of its pressing properties, its thermographically relevant surface properties are a variable parameter. Using infrared cameras in the SWIR spectral range, however, it is possible to reduce measurement errors caused by emissivity.

Thermal Images from Hot Forming Processes

Process of reshaping a slab
Process optimisation of a steel slab
Press optimisation of steel slab
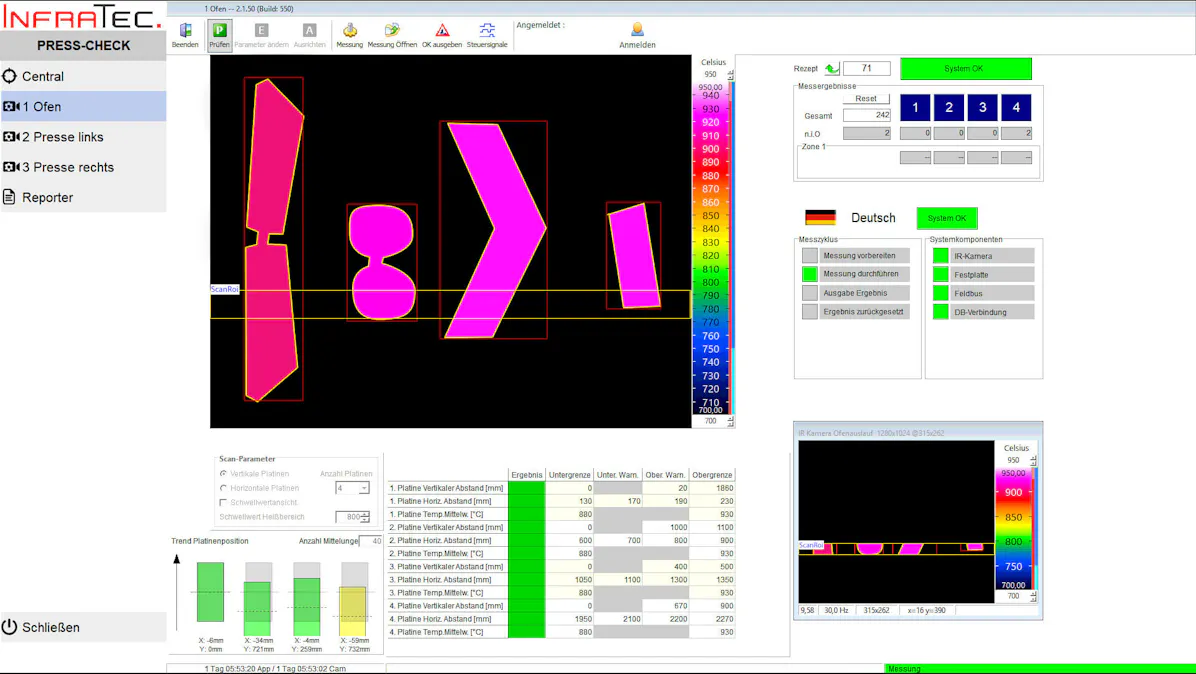
Quality control for more precision in press hardening PRESS-CHECK
Quality control for more precision in press hardening
Presscheck
Posi­tion and temper­ature control during the press hardening process and creation of complete images from several indi­vidual images, even with limited on-site condi­tions on site.

Ther­mo­graphic Auto­ma­tion Solu­tions for Hot Forming

Automation InfraTec INDU-SCAN - In-process industrial temperature measurement
Indus­trial Auto­ma­tion

Process Control – INDU-SCAN

Contactless measurement of temperature distributions and profiles with industrial thermographic cameras permits efficient monitoring and control of temperature-dependent processes and procedures within a system-integrated quality assurance programme in industry.

Quality control for more precision in press hardening PRESS-CHECK
Indus­trial Auto­ma­tion

Quality Control or Press Hardening – PRESS-CHECK

Check the microstructures of sheet metal parts during the stamping process and establish a uniform high strength and quality of all produced stampings safely and with a contact-free method.

Thermography in Welding

The purpose of welding is to permanently substance-to-substance bond two workpieces by applying pressure and/or heat so that they meet the specified quality criteria. Thermography is an established method for monitoring compliance with specified temperatures during the welding process or for non-destructive analysis of welded joints that have already been produced.

The way in which two joining partners are welded together depends on the respective welding process. While in laser welding, for example, the material of the joining partners is melted with a laser to join them together, in resistance welding current is induced to generate heat in order to heat the joining partners up to the welding temperature and then to join them together under the effect of great force. 

Benefits of Thermography for Welding
  • Monitoring temperature development and distribution and quickly detecting deviations

  • Optimising energy input

  • Detecting and avoiding defects such as cavities, cracks, and bonding defects

  • Ensuring the quality of the weld seams

  • Ensuring the quality of the end products

Whichever process is used, temperature adjustment and control are essential in all heat-based welding processes to achieve high quality results.

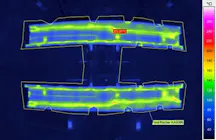
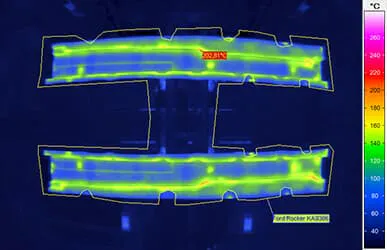
This is where infrared cameras are applied. They are used to monitor compliance with the process temperatures and their development over time during the entire welding process. In most cases, the temperature distribution on the surfaces of the joining partners, the detection of thermal anomalies and the measurement of the melt or liquidus temperatures are relevant. Thermography is also used in the final quality assurance process when components are inspected for defects such as cracks, cavities, and bonding defects with regard to their stability. In this particular case, active thermography is used, in which energy is introduced into the component with the help of external excitation sources, e.g., lasers, inductors or flash lamps. This in turn leads to local temperature differences on the surface over time, if there are defects inside.
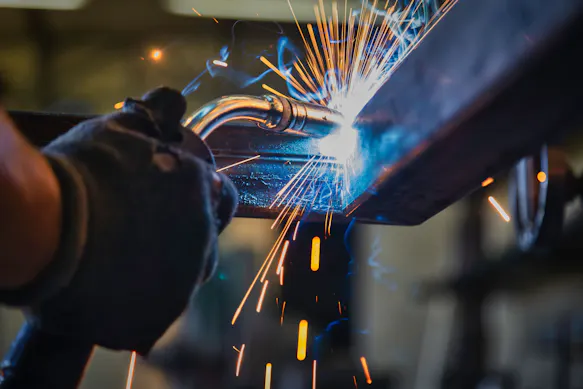
InfraTec | Thermography in welding and soldering - Picture credits: @ iStock / nimis69
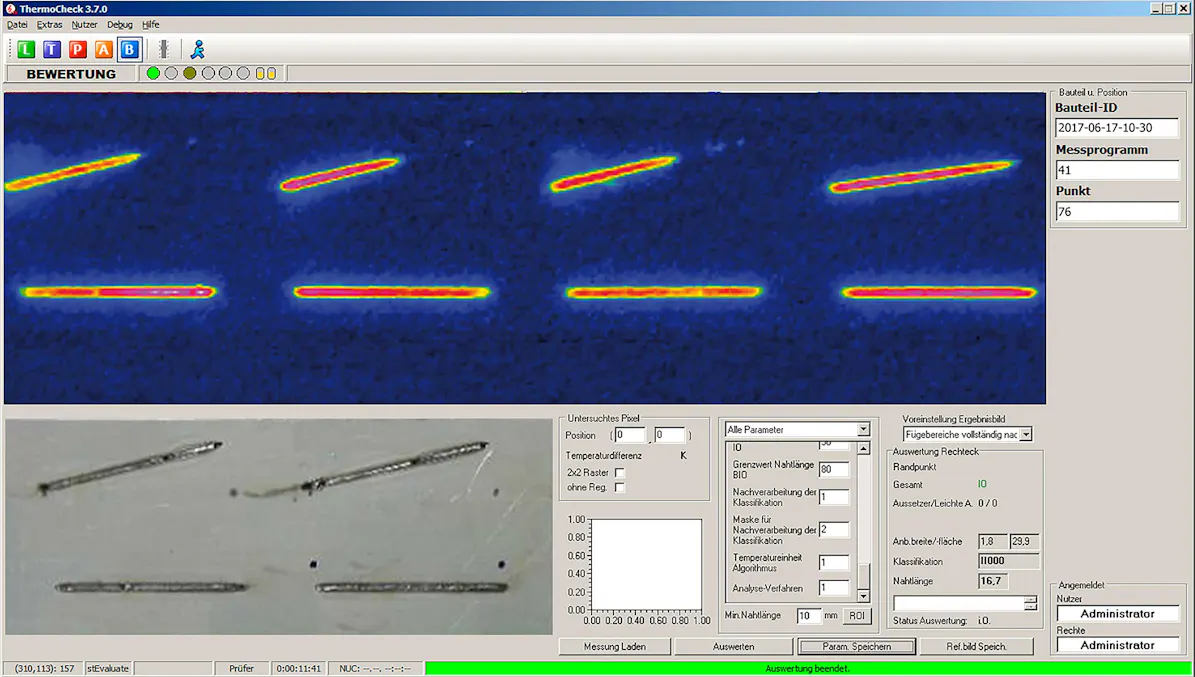
InfraTec | Inspection of laser weld seams with automatic evaluation
Inspection of laser weld seams with automatic evaluation

Thermographic Automation Solution for Welding and Soldering Processes

WELD-CHECK by InfraTec
Non-destructive Testing

Welding Inspec­tion – WELD-CHECK

Using pulse thermography, WELD-CHECK enables you a quantitative assessment of the inspected welds.

WELD-CHECK by InfraTec
Non-destructive Testing

Welding Inspec­tion – WELD-CHECK

Using pulse thermography, WELD-CHECK enables you a quantitative assessment of the inspected welds.

Thermography in Soldering

Other than welding, soldering is a joining process in which metals are joined together by melting solder. The components to be joined are not melted or fused. One challenge is to bring the joining partners up to the working temperature of the solder to avoid cracks.

Furthermore, during soldering, porous tear-off areas and pores which may result from the overheating of the solder or the flux during the soldering process should be avoided. As with the welding processes, it is also recommended to always monitor the process temperature during the soldering process and to control it accordingly.

Benefits of Thermography for Soldering
  • Monitoring temperature development and distribution and quickly detecting deviations

  • Optimising energy input

  • Ensuring the quality of the end products

Tip!

The SWIR range in particular offers good conditions for temperature measurement with significantly reduced emissivity influence. In addition, lenses with a very small field angle are available that allow a safe distance between the camera and the welding point and are also characterised by an extremely small design.
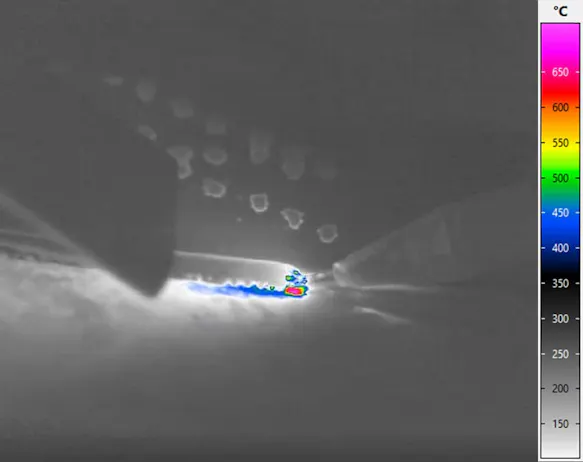
InfraTec Laser Soldering - ©InfraTec

Thermographic Automation Solution for Welding and Soldering Processes

Automation InfraTec INDU-SCAN - In-process industrial temperature measurement
Indus­trial Auto­ma­tion

Process Control – INDU-SCAN

Contactless measurement of temperature distributions and profiles with industrial thermographic cameras permits efficient monitoring and control of temperature-dependent processes and procedures within a system-integrated quality assurance programme in industry.

WELD-CHECK by InfraTec
Non-destructive Testing

Welding Inspec­tion – WELD-CHECK

Using pulse thermography, WELD-CHECK enables you a quantitative assessment of the inspected welds.

Which System Solution is Suitable for Which Application?

While non-metallic objects typically have a high and less variable emissivity, the opposite is true for metals. Here, the variable emissivity becomes a significant factor influencing measurement accuracy. For this reason, SWIR thermography systems are recommended for measurements on metal surfaces. The reason for this is a physical law: the shorter the wavelength in which a thermographic camera operates, the more dynamically the intensity of the infrared radiation it detects rises or falls with a change in the temperature of the object being measured. In turn, the influence of possible deviations in the surface characteristics of the object, which would otherwise lead to considerable falsification of the measured values, decreases. SWIR infrared cameras enable the reliable measurement of temperatures from 300 °C and are thus predestined for use in metal processing. In the area of safety monitoring on casting ladles, melting furnaces, etc., LWIR thermography systems are preferably used, as the temperatures here are mostly below 300 °C and the emissivity is higher and thus less variable, which significantly simplifies the measurement.

What is Emissivity?

The emissivity is the measure of the ability of an object to emit infrared radiation. The black body as a radiation-physical model has the highest possible emissivity with the value 1 (= 100 %), which is also independent of the wavelength. 

The emissivity of real measurement objects, on the other hand, can depend on the wavelength and is primarily influenced by the following parameters:

  • Material composition (surface)

  • Surface roughness

  • Viewing angle to the surface normal

  • Object temperature


Learn more about physical principles

Contact to thermography division of InfraTec

Would You Like to Know More?

It is not unusual for tasks to be associated with special requirements. Discuss your specific application needs with our specialists, receive further technical information or learn more about our additional services.
United States
InfraTec infrared LLC1900 West Loop South Suite 155077027 HoustonUNITED STATES

Advant­ages of this Ther­mo­graphy Solu­tions in this Applic­a­tion

Thermography with ImageIR series - HDR feature - Picture credits: © iStock.com / Vershinin M

HDR – Simultaneous Mapping of Wide Temperature Ranges

The High Dynamic Range (HDR) function of the Infrared ImageIR® camera series enables measurement scenarios with extremely different temperatures to be recorded continuously. When recording in HDR mode, multiple thermograms with different integration times and different filters are recorded quickly in succession and compiled into an overall image with a high dynamic range. The measuring range can span up to 1,500 K. Users obtain high-contrast images in a wide temperature range characterized by high measurement accuracy.

HighSense for thermographic camera series ImageIR®

High­Sense – Always the Optimal Camera Setting

Thanks to HighSense, ImageIR® users have the option of setting up individual measuring ranges based on the factory calibration that best suit the respective task. Depending on the measuring task, the required temperature range can be selected and the optimum integration time for this purpose is calculated – or one decides to proceed in reverse order. Thus, the calibration can be retained even in the case of changed integration times.
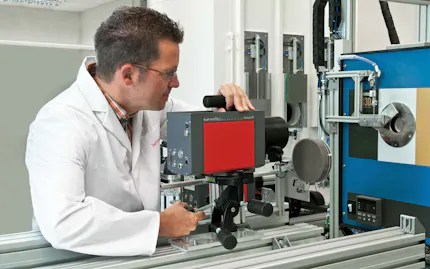
InfraTec Service Calibration Rig

Auto Calibration

The Auto Calibration option expands the HighSense function to include automatic, dynamic adaptation of the integration time. This ensures the utmost temperature measuring accuracy and an optimised signal-to-noise ratio throughout the process. The wellfill of a detector is usually optimal in certain areas of the dynamic range. If the measured object signal is outside theses or user-specified limits, the integration time is readjusted.
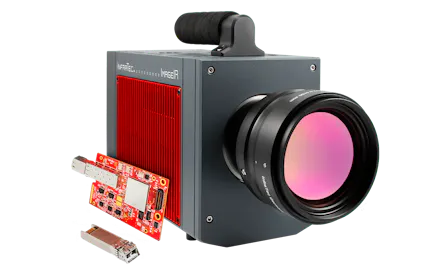
Thermografie-Kameraserie ImageIR® mit neuer 10 GigE-Schnittstelle

10 GigE Inter­face for a Strong Increase in Output

The 10 Gigabit Ethernet interface of the high-end camera series ImageIR® opens this extremely fast transmission standard with a NIC specially developed by InfraTec. This works with optical or electrical transceiver modules that are easy to change and are called SFP+.

InfraTec glossary - ImageIR® mobile wireless camera remote control

Mobile Wire­less Camera Remote Control

Stationary camera systems are usually used PC-controlled. Alternatively, InfraTec offers a solution that makes the operation of the camera system even more versatile. An additional tablet PC is attached to the camera housing, which enables wireless control of all camera functions. The display solution allows access to all functions of the IRBIS® online control and acquisition software, delivered together with the camera.

InfraTec glossary - Rotating filter- und aperture wheel

Separate Filter & Aper­ture Wheel – Spec­tral Ther­mo­graphy

The combination of a separate filter and aperture wheel, allowing a total of 35 freely selectable combinations, is prerequisite for a universal application in measurement tasks with high object temperatures and in the field of spectral thermography. The neutral density filters used for signal attenuation or the combination of spectral filters and apertures reliably prevent interference effects.

ImageIR filter wheel replacement

Multispectral Feature

The multispectral feature makes it possible to record sequences with constantly changing spectral filters. Images are recorded synchronously with a rapidly rotating filter wheel equipped with the filters. It may be possible to switch between up to seven filters, depending on the version. Due to this the multispectral measurement can be optimised to suit the measuring task if the preset ranges are unsuitable. The integration times can be adapted within the limits calibrated for this filter.

Camera protective housing for infrared cameras by InfraTec

Wide Range of Protective Hous­ings

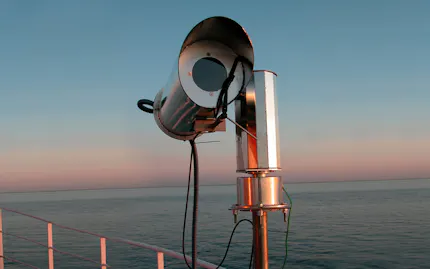
The InfraTec product range includes numerous protective housings. The all-weather and robust metal housings allow the use of the thermal cameras in harsh environments and protect against mechanical stress, dust and splash water. Depending on requirements, users can also choose ATEX-certified protective housings that can be used in potentially explosive atmospheres.

Thermal image during ignition of an airbag  Image Small

Window Mode (Subwin­dowing) – Capture of Rapid Sequences

The thermal imaging camera can be operated in full, half, quarter and sub mode. With the camera control software, it is possible to use the extended subwindowing function. Using click-and-drag, freely definable sections can be set up quickly and conveniently. A defined sub-frame of the detector is picked out to achieve these extremely high refresh rates.

Infrared Cameras for Application in Metal Industry

InfraTec Infrared camera
Zoom Cameras

ImageIR® 6300 Z

Image Format(640 x 512) IR-Pixel
Detector typeXBn

InfraTec Infrared camera
High-end Cameras

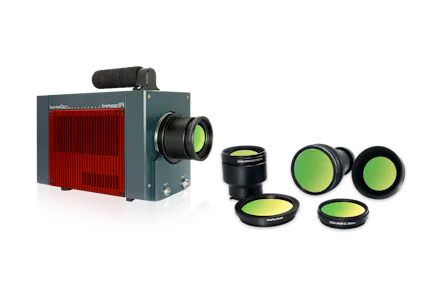
ImageIR® 8300 hs

Image Format(640 x 512) IR-Pixel
Detector typeT2SLS or InSb

InfraTec Infrared camera
High-end Cameras

ImageIR® 9400 hp

Image Format(2,560 x 2,048) IR-Pixel
Detector typeInSb

InfraTec Infrared camera
System Cameras

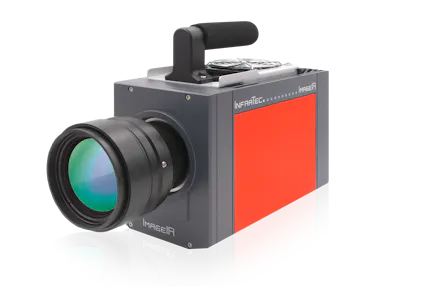
ImageIR® 9100

Image Format(1,280 x 1,024) IR-Pixel
Detector typeInGaAs

InfraTec Infrared camera
High-end Cameras

ImageIR® 10300

Image Format(1,920 x 1,536) IR-Pixel
Detector typeInSb

InfraTec Infrared camera
System Cameras

ImageIR® 8100

Image Format(640 x 512) IR-Pixel
Detector typeInGaAs

InfraTec Infrared camera
Compact Cameras

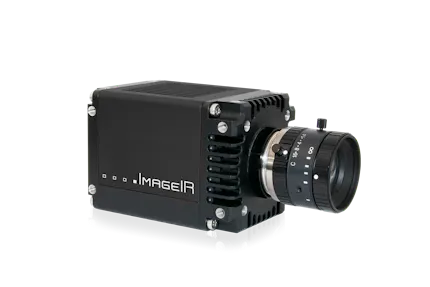
PIR uc 605

Image Format(640 x 480) IR-Pixel
Detector typeUncooled Microbolometer Focal Plane Array

InfraTec Infrared camera
High-end Cameras

ImageIR® 9500

Image Format(2,560 x 1,440) IR-Pixel
Detector typeMCT

InfraTec Infrared camera
High-end Cameras

ImageIR® 9400

Image Format(2,560 x 2,048) IR-Pixel
Detector typeInSb

Asso­ci­ated Indus­tries & Applic­a­tions

laser applications

Laser Industry

High-end thermography in heat-generating laser applications in materials processing.

thermal imaging for material testing

Material Testing

Save time and costs by non-destructively testing components with infrared camera systems by InfraTec.

All branches and application areas