High-End Thermography for Optimal Control of Laser Applications
Laser applications are of vital importance in today's industry, science and medicine, because the properties of laser radiation result in numerous different applications.
Among other things, laser radiation is used in metrology for high-precision non-contact measurement of distances, material thicknesses or surface profiles. Furthermore, they also perform well in spectroscopy, for example in the analysis of chemical compounds. Medical technology takes advantage of the benefits of laser radiation and uses it in areas such as ophthalmology or in the removal of tumours. We also get in contact with laser technology in numerous everyday devices: when scanning bar codes at the counter, at the laser printer in the office or in speed measurement in road traffic.
Lasers in Industry
Due to their numerous positive characteristics, lasers have been used in industry for many years, mainly in material processing. In production engineering for example, they replace other tools and enable the precise processing of a wide range of materials. Lasers perform processes such as cutting, welding and ablating metal, plastic or glass as well as various composite materials and are also used in additive manufacturing. They support the application of protective coatings and carry out heat treatments for hardening, drying and softening. The advantages are clear: lasers themselves are not subject to wear and tear, they do not need to be replaced and can be flexibly adjusted to allow accurate and gentle processing of different materials.
Among numerous industrial lasers, there are those that involve the application of thermal energy for material processing. This is where permanent monitoring and control of the heat development play an important role in order to process materials in accordance with their properties and thus comply with quality and safety standards.
Laser Applications that use Thermography Successfully
High Speed Thermography for Process Control for Laser Sintering
High-end Thermography for Heat-Generating Laser Applications in Material Processing
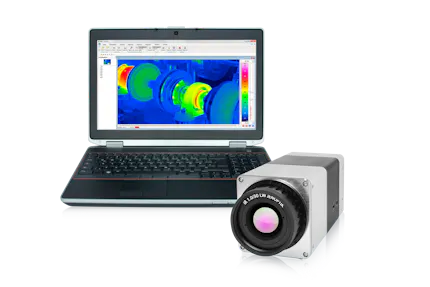
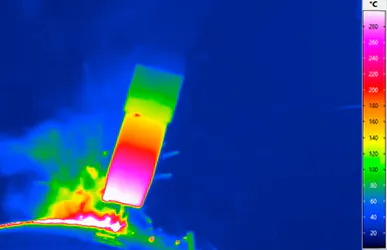
Thermography enables the non-contact visualisation and analysis of the heat flow in the respective measurement and test objects or components. The temperature measurement on their surface allows the energy input of the laser to be controlled and thus ensures that the object to be processed is heated optimally.
Non-contact and non-reactive temperature measurement
Mapping of heat flows in components to gain a complete understanding of the process
Control of precisely adjusted energy input and reduction of thermal load, due to high measurement accuracy
Exact calculation of the final energy input by laser into the component due to complete geometrical and temporal recording of temperature distributions in highly dynamic processes
Optimum positioning of non-visible lasers (UV laser, IR laser)
Reliable monitoring of heating and cooling processes of materials
Early detection of errors in production, active avoidance of rejects and minimisation of returns
Optimisation of process and cycle times as well as pre- and post-processing
Non-destructive testing of laser welded joints
Direct laser control based on the observed object temperature in real time
Derivation of correlations between process parameters and (melting) temperatures
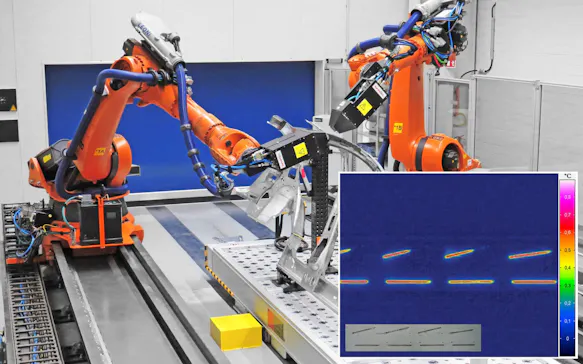
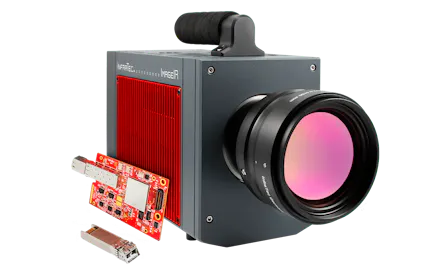
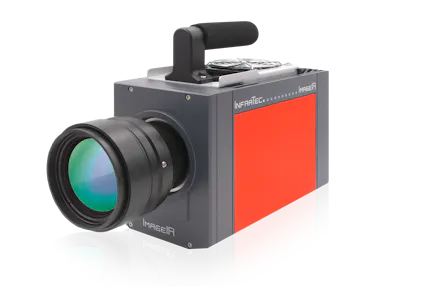
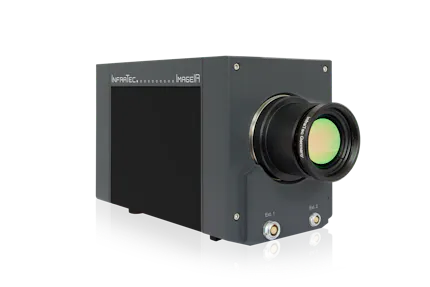
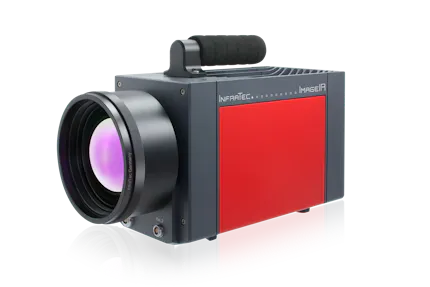
Infrared cameras for the investigation of laser applications have to meet very specific requirements. This applies for example with regard to the temporal resolution: it is characteristic for working with a laser to have short laser action times, where heat input takes place within fractions of a second. This requires measurements with high image frequencies in full and partial images. Especially in micro material processing with pulsed laser light, the demands on thermography systems – such as the ImageIR® 8300 hs – are very high because the processes run at high speed.
The thermal and geometric resolution of infrared cameras is equally important. Depending on the process and material, lasers can be used to generate very large and small temperature differences, which must be monitored precisely and continuously. Here InfraTec offers different functions of the cameras, such as HighSense-mode, HDR-function, binning mode and geometric resolutions in the HD range.
Often it is necessary to monitor very precisely – even on fine structures or locally – which input of thermal energy is induced and what the processing temperatures of all materials involved in the process are. Consequently, the combination of geometric and thermal resolution of the camera determines the success of the respective application.
Online Events On Demand
Laser Technologies Benefiting from Infrared Thermography
Overview of laser applications and types
Fields of application for thermography in laser technologies
Technical requirements for thermographic cameras, software and accessories for successful implementation in in laser technologies
Technical Lecture “Lasers: A Versatile Heat Source for Modern Active Thermographic Testing” from Dr.-Ing. Julien Lecompagnon, Federal Institute for Materials Research and Testing (BAM)

Optimising Additive Manufacturing Technologies Using Thermography
Additive manufacturing: definition, benefits, types, presence and future
Challenges in additive manufacturing of metals
Use of thermography to improve manufacturing technologies
Complementary technical lecture "Influence of Laser Intensity Distribution on Process- and Parts Properties in the L-PBF – New Process Insights through Thermography" from Dr.-Ing. Florian Eibl, Aconity 3D GmbH
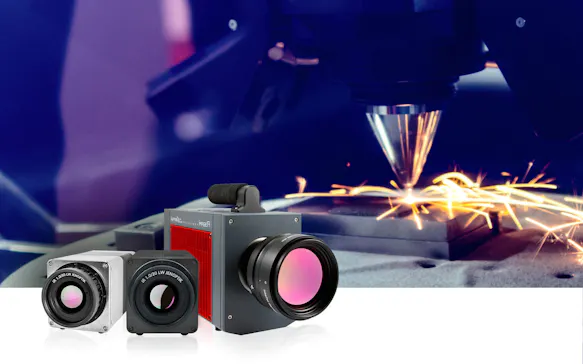
High-speed Thermography in Highest Quality
Special features and the potential of high-speed thermal imaging
Presentation of technical solutions and InfraTec camera models
Explanation of important parameters and their influence on thermal imaging
Presentation of various functions to adapt your camera to the application requirements
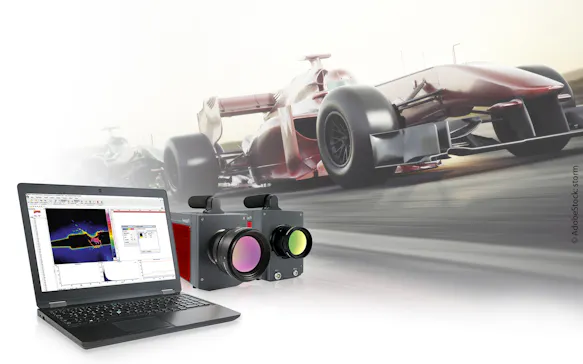
Thermography for Industrial Automation
Efficient quality control through fast, contactless temperature measurement during ongoing production
Flexible system solutions from modular components to fully customized turnkey setups
Integrated software for automated evaluation, documentation, and triggering of follow-up processes


Would You Like to Know More?
It is not unusual for tasks to be associated with special requirements. Discuss your specific application needs with our specialists, receive further technical information or learn more about our additional services.
Laser Sintering
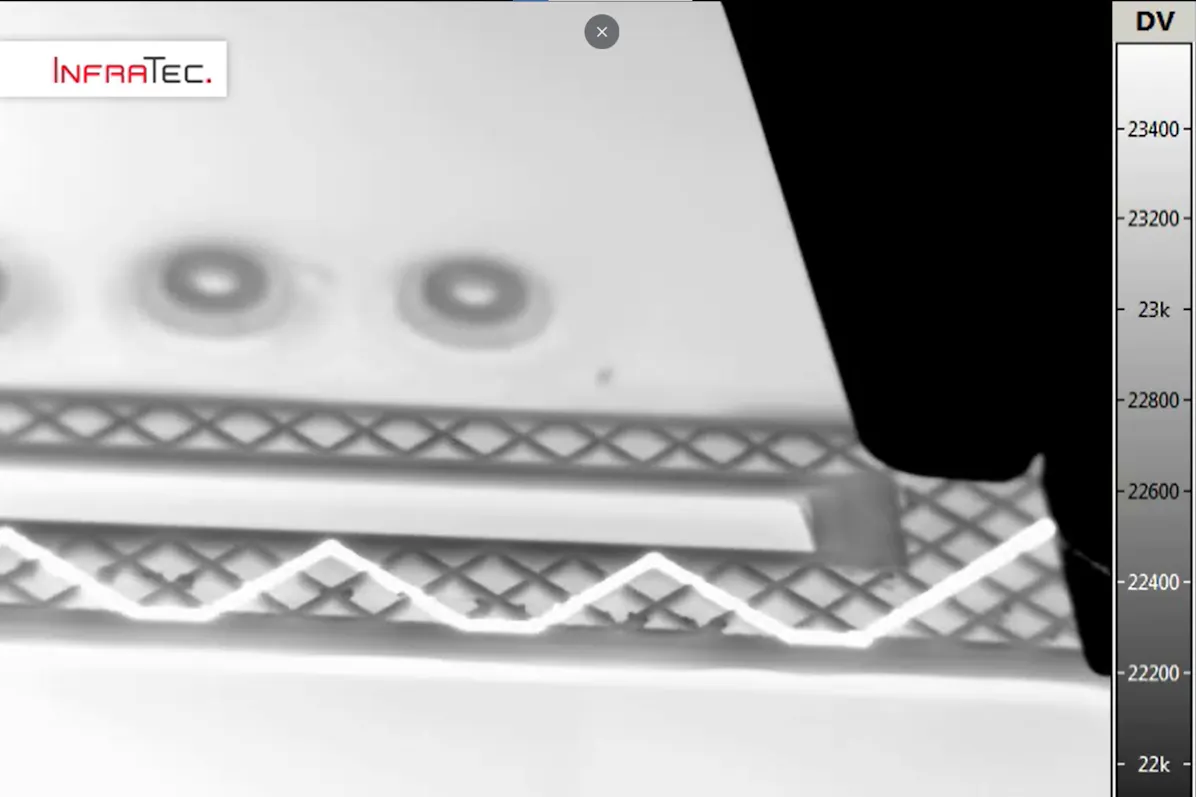
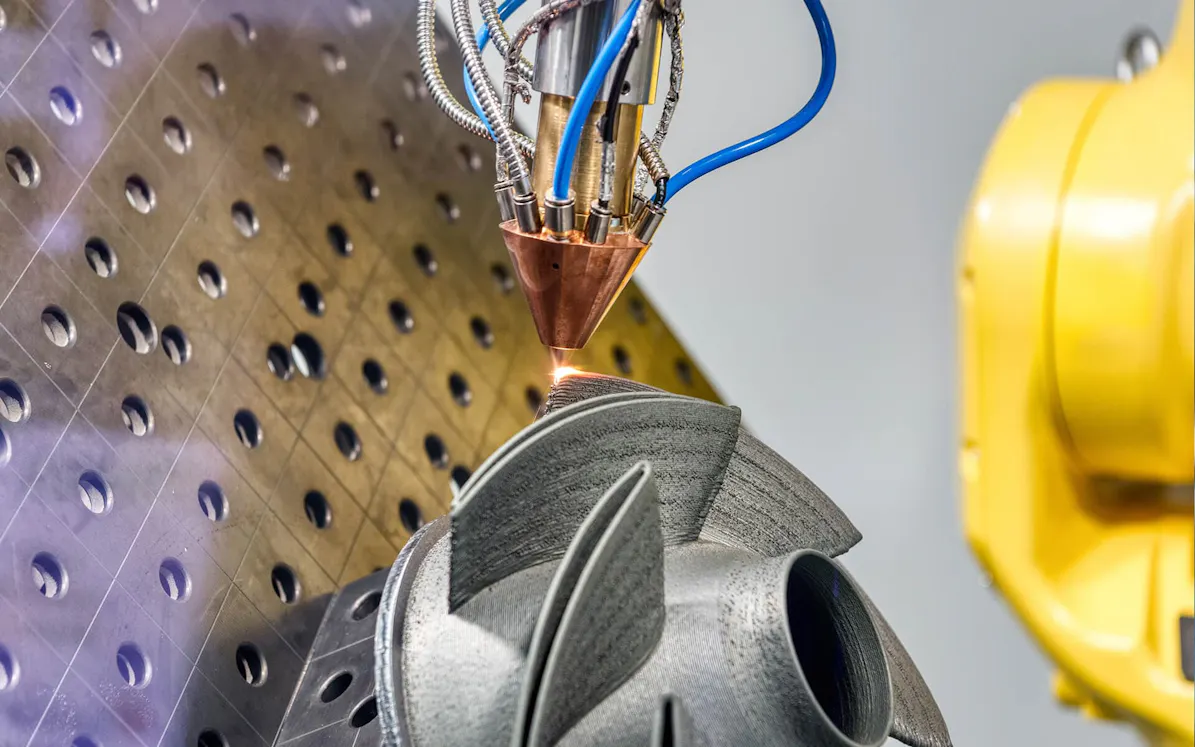
In laser sintering – also known as Selective Laser Sintering (SLS) – granulate is heated by supplying thermal energy to temperatures just above the melting point and thus bonded together. This process is not only used for plastics and ceramics, but also for metals. The application for metals is called Direct Metal Laser Sintering (DMLS). Laser sintering – SLS and DMLS – are counted among the industrial 3D printing processes in additive manufacturing.
Regardless of the treated material, temperature is one of the factors on which the quality of the process and thus of the final product depends to a large extent.
The granulate to be processed is applied to a building platform, the so-called powder bed surface, and preheated to a temperature below the melting point. With laser sintering of plastics, this is about 170 °C. The energy of the laser melts the individual powder particles. If this happens within the specified temperature window, the neighbouring particles subsequently bond together. The procedure is repeated layer by layer until the component is finally complete, as it has previously been stored in the laser control as a digital three-dimensional model.
Infrared cameras can be integrated directly into a laser sintering machine. With their help, users can take various measurements. Mostly relevant are the detection of the temperature distribution of the powder bed surface and the measurement of the melting temperature. Both can be realised while the laser is working - a so-called in-situ measurement. The use of laser protection windows blocks the radiation in the laser wavelength range and thus prevents the infrared camera from being damaged by the laser. At the same time these windows have a very high transmission in the wavelength range of the camera.
Another application of infrared thermography in laser sintering is the thermal analysis of the cooling of the sintered area. Areas of surface which have not been heated sufficiently or homogeneously will later show unwanted component properties which may lie outside of tolerances. This can be effectively counteracted by thermographic process control. In addition, the function and homogeneity of the radiant heaters integrated in a laser machine can be monitored with an infrared camera.
Laser Cutting
Cutting with a laser cutting machine is considered a low-distortion and elegant cutting method. It can be operated with high precision so that very narrow kerf widths are produced. Numerous materials can be processed without burrs, often saving complex rework. In laser cutting, also known as laser beam cutting, thermal energy is introduced into a workpiece.
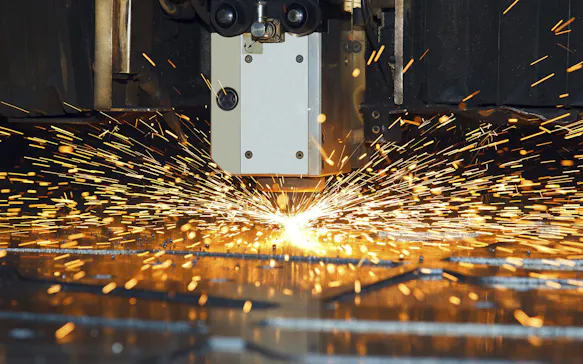
A distinction is made between three different processes:
Melting of the cutting gap during laser beam fusion cutting,
Heating, melting and subsequent spontaneous combustion of the material during laser beam flame cutting or
Evaporation of the material during laser beam sublimation cutting.
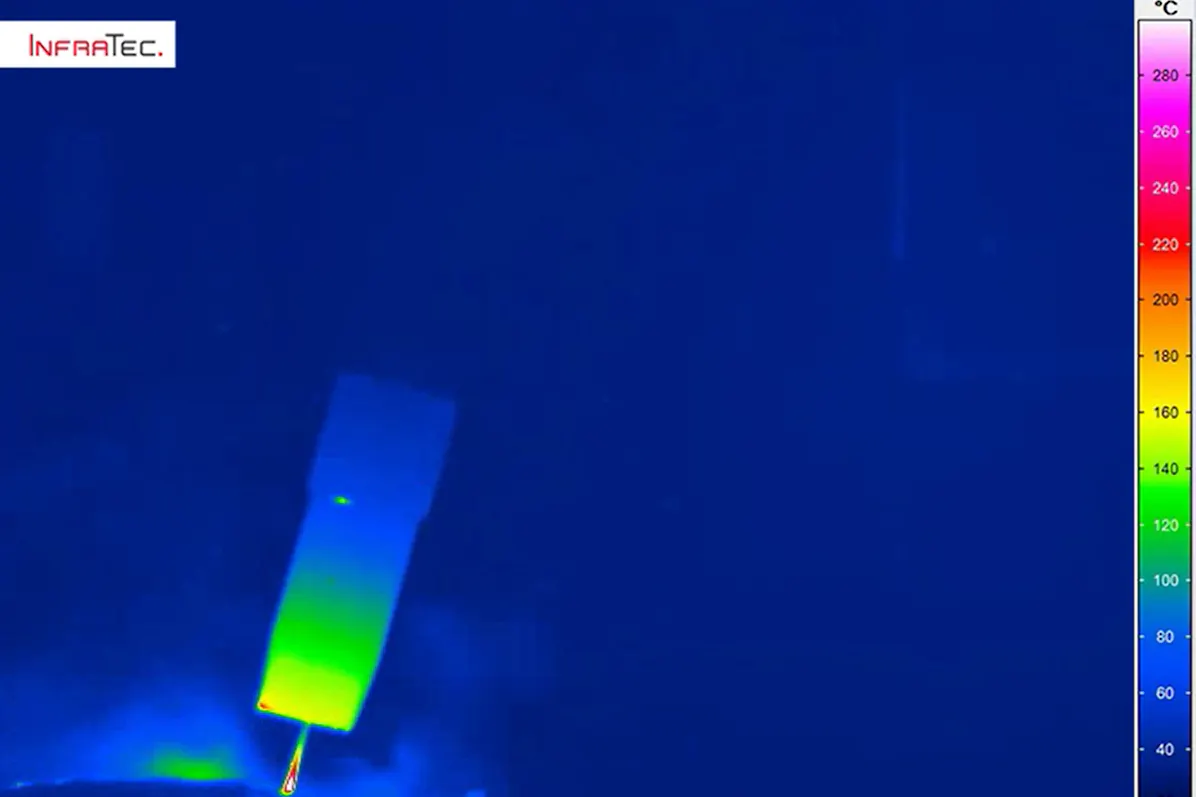
In each type of laser cutting, the exact heat input and the heat distribution on the component surface are important factors. The workpiece is thermally affected and experiences a change in its microstructure near the cutting edge. The critical temperature for such a change in microstructure can be precisely monitored with an infrared camera.
Laser Welding
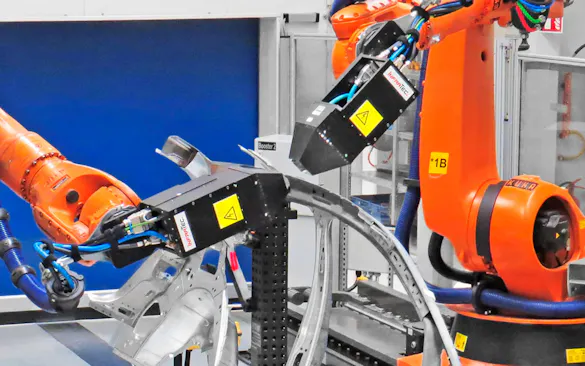
A thermography-based process control with the support of an infrared camera also proves to be beneficial for users in laser welding, for example when materials such as carbon fibre reinforced composites (CFRP) are involved. This is because the melting temperature of the carbon fibres is far higher than that of plastic matrices contained in CFRP. If heating and melting is to succeed in producing a solid joining compound, the melting and component temperature must be measured precisely with a locally high-resolution infrared camera. On this basis, reliable statements about the realised quality of the weld seam can then be made. An active-thermographic test of the weld seam afterwards is a complementary possibility to check non-destructively the achieved homogeneity of the component at the seam.
Laser Soldering
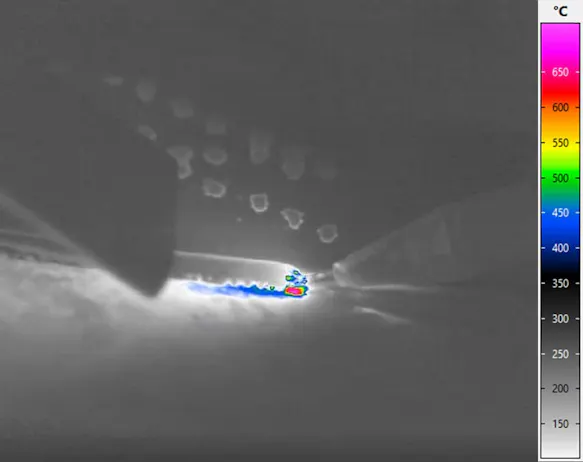
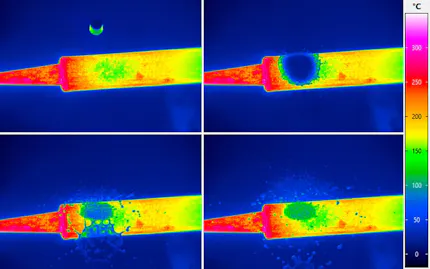
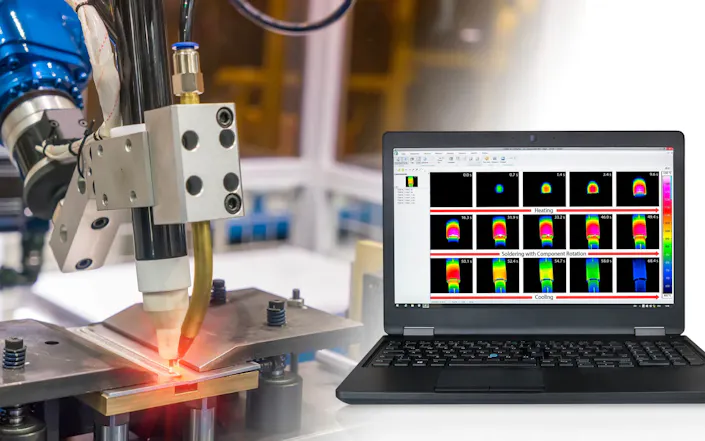
Laser soldering is one of the processes that can be used to create substance-to-substance bond connections. The laser melts the solder, which fills the joint gap as additional material and wets and joins the components. With the laser, very specific temperature-time curves can be realised at the soldering points. Users can monitor whether these correspond to the specified process parameters with the aid of an infrared camera.
Accompanying laser soldering by thermographic analyses is relevant for example for the semiconductor, electronics and optoelectronics industries. In the course of miniaturisation, very small electronic components of only a few tenths of a millimetre are processed, as well as highly heat-sensitive parts. Selective soldering methods such as laser soft soldering must meet the requirement to precisely control the heat input and prevent damage to surrounding sensitive components.
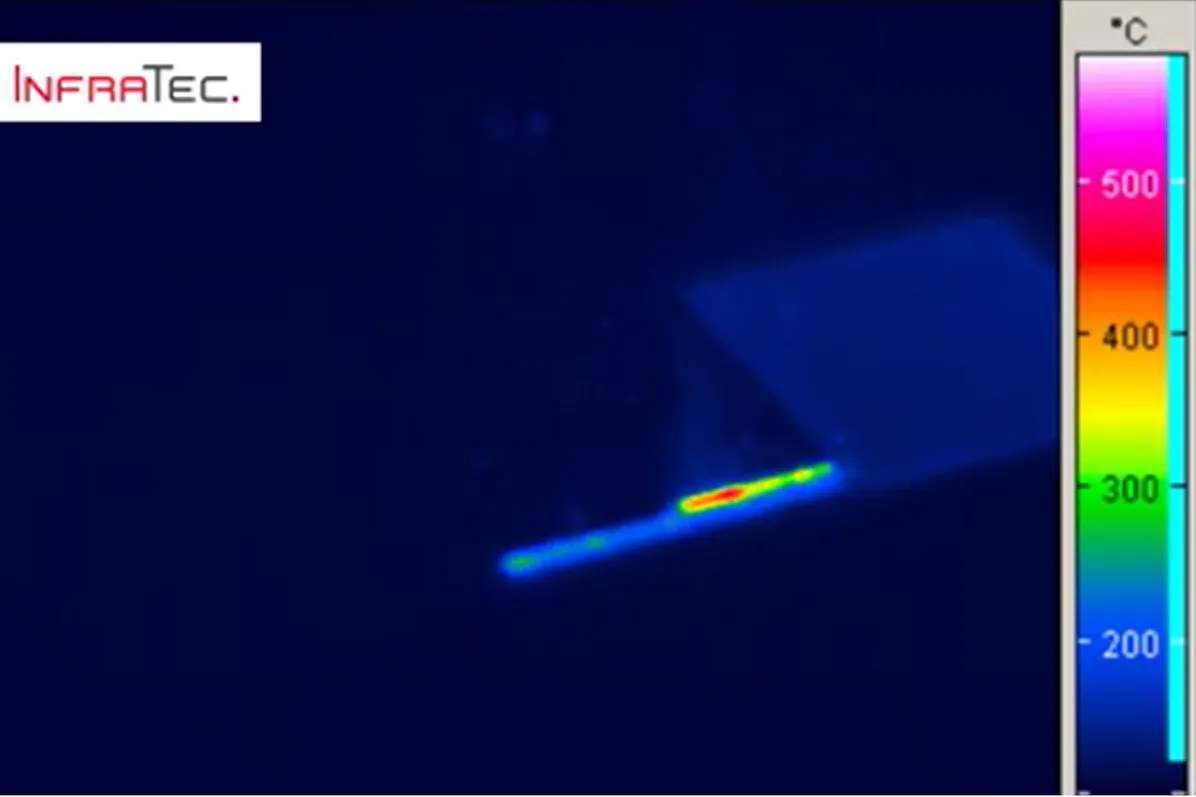
In laser capillary gap soldering, high image frequencies of the IR camera are extremely important for reliable temperature measurement and a visual analysis of the process. In this process the liquid solder is drawn into the gap between the two objects by the capillary effect to be joined. At process temperatures of well over 1,000 °C, the laser should temper the joining zone as homogeneously as possible. The thermographic monitoring of the process provides information about the dynamic temperature changes in the gap filling process and the influence that the tempering strategy has on the formation of the temperature zones. Users can reliably derive several reactions from the data obtained:
Adjust temperature control strategy
Reduce soldering times
Optimise railway planning
Check optimum heat penetration
Reduce thermal stress on surrounding zones
In particular, users with special environments for such processes, like oxygen-reduced chambers, will benefit from InfraTec’s experience with applications that require special provisions such as windows and filters to make sure the imaging process works and the results are reliable. This does not only apply to the protection against splashes from the machining process. The camera's lenses in particular need to be protected from reflected laser radiation. In addition, at processing temperatures of 500 °C to 2,000 °C a filter is usually required for through-glass and high-temperature measurement. Equipped in this way, a thermography system can be used in the immediate vicinity of the laser without concern.
Laser-Beam-Profiling
Laser beam profiles are often useful for ensuring that lasers can be used efficiently for cutting, sintering, or melting. These profiles can, for example, be used to detect fluctuations in radiation intensity after the laser has been switched on. Continuing the process only once the beam has stabilized leads to fewer inaccuracies and errors, thereby improving the quality of the manufactured products.
To protect the infrared camera from damage during laser beam profiling, the intensity of the laser radiation usually needs to be reduced using a filter. Alternatively, the beam can be directed onto a weakly reflective surface and from there into the camera. The thermal image can be used to draw conclusions about the geometry of the beam and the temperature distribution across the surface.
Analysis of the Laser-induced Damage Threshold (LIDT)
The laser damage threshold or laser-induced damage threshold (LIDT*) refers to the maximum power density (fluence) at which lenses, or a material is damaged by a laser.
To determine the LIDT, a laser with a defined wavelength, pulse duration, pulse frequency, and beam profile is used. The object to be analyzed (for example, an optical component) is placed in the beam path and the fluence is increased gradually. The occurrence of damage – which corresponds to reaching the damage threshold – is often analyzed optically, microscopically, or by scattered light analysis.
Thermography offers a modern alternative for measuring LIDT. During laser irradiation, the material heats up locally by absorbing the laser energy. An abnormal temperature increase can be detected using a high-resolution MWIR or LWIR infrared camera even before visible or structural damage occurs. Even minimal defects such as microcracks or material deformations lead to such temperature increases, enabling particularly early damage diagnosis. The thermographically measured threshold is therefore usually below the classic LIDT, which is determined based on visible damage. A description of test methods, calibration, and evaluation of LIDT measurements can be found in the ISO 21254 standard.
* The abbreviation LIDT is also used for the “Laser-Induced Damage Test.”
Industrial Lasers and Thermographic Systems – a Promising Combination for the Future
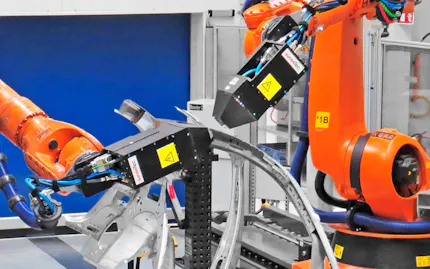
Industrial lasers – just like infrared cameras – are constantly opening up new application fields. Lasers are becoming more powerful and the automation of complete processes is increasingly coming to the fore. At this point, many factors must be coordinated in order to predict process sequences and results and thus to establish fully automated and controlled processes. Thermographic measurement data, automated image evaluation and the analysis of the digital process environment provide support.
InfraTec supports this idea of innovation with the following services:
Cooled and uncooled high-end infrared cameras to solve complex tasks
Various detector formats with up to (2,560 × 2,048) IR pixels and wide temperature measurement ranges
Modular design for optimum adaptation to the measurement and testing situation (OEM solutions)
Complete range of interchangeable precision lenses with first-class transmission quality
Complete solutions including accessories and software for R&D and process control
First-class service for ensuring high system availability
Innovative measurement technology


