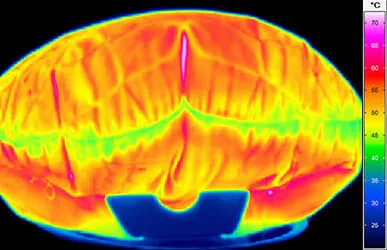
Quality Assurance with Active Thermography in Series Test at Zwickau Volkswagen Plant
Non-destructive testing methods are becoming increasingly more important in the industry. One reason is that they cost much less than other test methods. As a very elegant method, the active heat flow thermography method is now firmly established as a powerful method of non-contact and non-destructive testing of products of different manufacturing technologies.

The quality assurance staff at Volkswagen Sachsen GmbH in Zwickau (Germany) have successfully relied on this innovative test method for several years. Working closely with InfraTec, they have developed tailored applications for their measurement tasks and gradually adapted them to the types of vehicles and specific local conditions. Specialists there test laser welds of body components with two- and three-plate connections. Since the integration of the modular production kit MPB in the factory in Saxony, the testing became even more comprehensive. Now, there are checked technologically more sophisticating welded seams at the test side in a fully automated way.
Further Development at the Zwickau Site
A more recent application report from Volkswagen Zwickau describes how InfraTec and Volkswagen Sachsen further developed the thermographic inspection process for automated quality control of welded joints in series production.
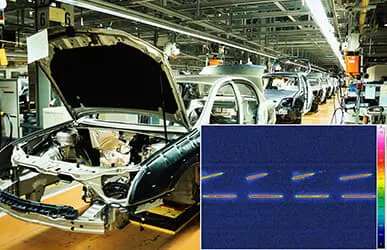
With this thermographic check, Sven Beier and his team can detect even the smallest details of car bodies. They examine and evaluate bodies and side panels of different vehicle types, which is not an easy task. After all, a single component can have up to 250 individual welds, depending on vehicle model. Performing the testing in a three-shift operation, up to 3,500 laser welds can quickly pass through this non-destructive inspection by the end of each day. Ralf Albrecht, head of quality assurance for car chassis, is especially pleased about the newfound freedom: "By automating the testing facility, the test throughput has been significantly increased and made more flexible."
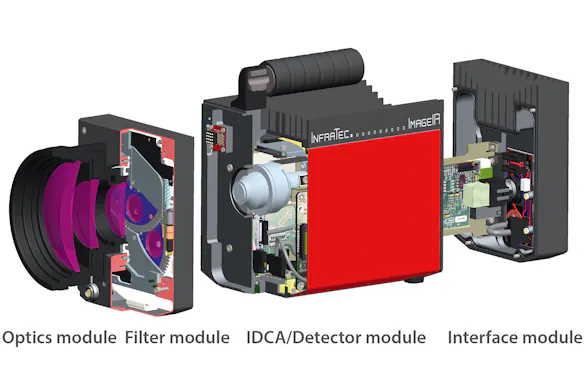
The heart of this test system is the special flash head, developed jointly by Volkswagen and InfraTec, where in addition to the powerful flash lamp, a thermal imaging camera is also integrated. Designed to replace the previous standard flash heads, this new development enables both the so-called incident and transmitted light test. Sven Beier supervised the test system on site and is absolutely convinced of its unique combination of industry flash lamp and high-end thermographic camera ImageIR®: "With the new flash head construction, we reach significant greater life expectancy when compared to the previous solution." A car body group is tested using two special flash heads, mounted on powerful 7-axis robots. After the program starts, an automatic execution of all programmed test positions of a test sequence is carried out. The team, however, can change at any time in a subsection or test sequence to test single laser welds.
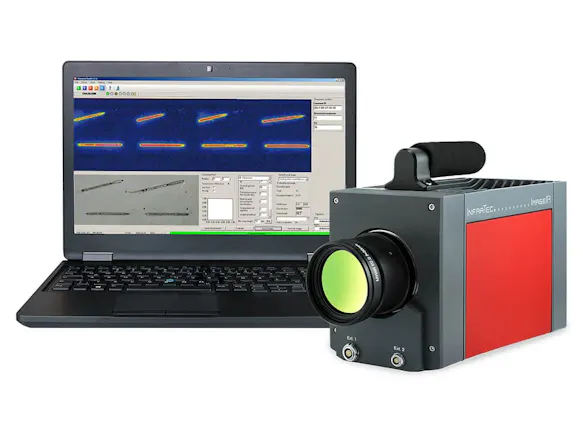
In active thermography, a defined trigger, high-energy flash sends a heat pulse to the laser weld to be tested. This creates a heat flow that causes a temperature change at the surface of the object. The lateral distribution of temperature change and the time course is recorded by a high-sensitivity, high-speed thermographic camera of the ImageIR® series. This creates a real-time sequence of infrared images and sends them to a PC, where they are stored. Flaws or defects lead to a change in heat flow and cause a characteristically altered temperature distributions on the component surface.
A test software, developed by InfraTec in collaboration with the quality assurance team at the Volkswagen plant in Zwickau, analyses the stored sequences and provides the analysis results and other data. The inspector can then gather detailed information from this data about the condition of the welds and, where appropriate, promptly take action to ensure quality remains high. This intuitive test software enables a full documentation of the test results, as well as operator actions and can be individually adapted to each test position.
This procedure further increases the testing security compared to destructive testing, even with significantly shorter testing times and lower costs. In result, this provides an additional benefit in quality and quantity concerning the entire production.
